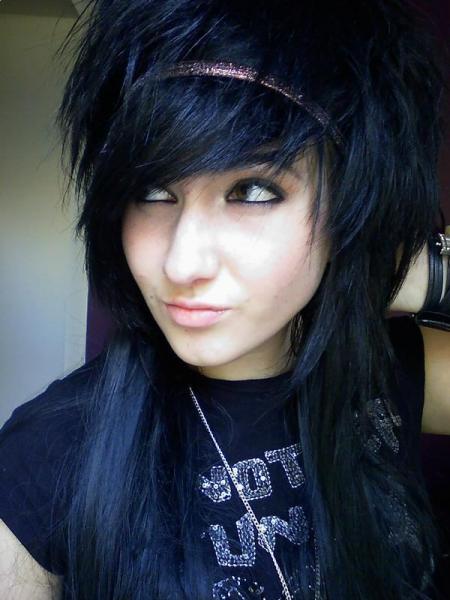
girls scene hair 2011
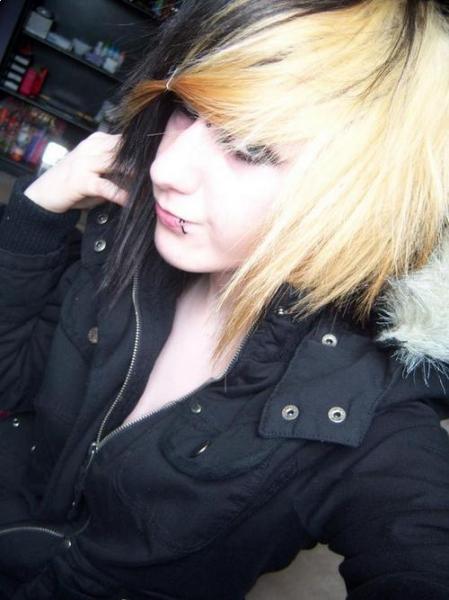
scene haircuts 2011
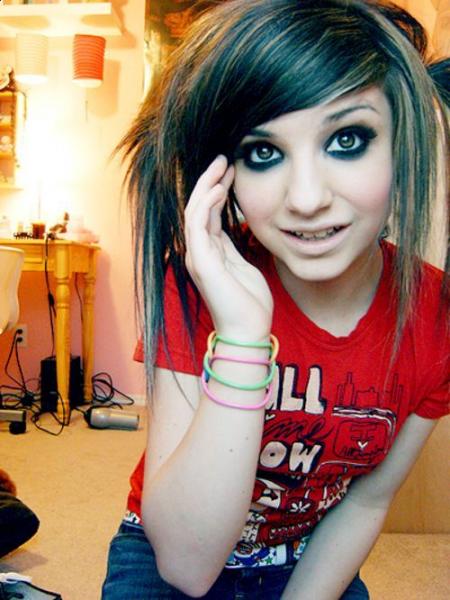
scene hairstyle
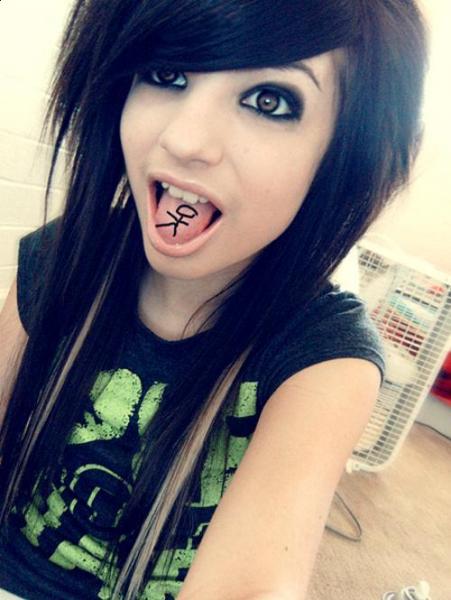
New scene hair style
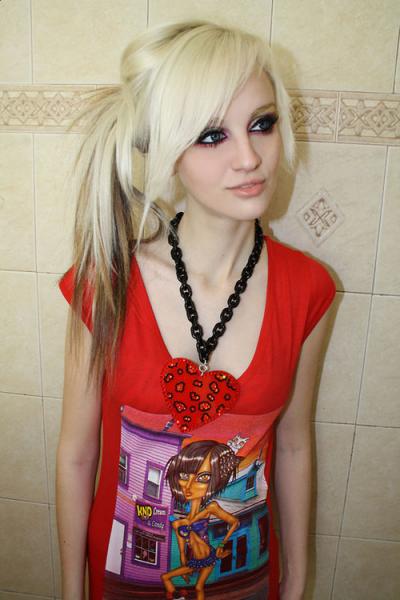
- Start cutting from the bottom layers going gradually to top layers - it's much easier that way. You can clip your hair together on the top of your head, to help you reach bottom layers first. Bottom layer can be as long as you wish, think as long as Audrey, or short as Katie Babyfayce.
- Wash your hair, or spray it with water, if you prefer to cut your hair wet - that way it's easier to get more consistent look. Also remember to cut your damp hair 1 - 2 cm longer, as it will wave in natural way and become slightly shorter when dry.
- Grab thin strand, hold it horizontally and cut at desired length. If you're happy with it, grab another one together with first one and cut at the same length. Repeat until you cut all the bottom layer.
- Release another layer from the upper hair - about 1 cm wide - and let it down on your neck - now cut it the same way as the bottom layer. You can cut every layer slightly shorter then the previous one from the bottom.
- Keep checking in back mirror, if you are still happy with the look and the length.
- After cutting all bottom layers, it's time to get to top layers - crowning of all your work - it's the most importand part, giving you loads of possibilities for creating your own look!
- If you're after Scene Hair, top layers will be short and chopped with messy look. Ideal length is to your chin, with shorter fringe.
- Grab single hair strand, hold it horizontally and cut with your razor - that way you'll get ideal choppy look, which can easily be styled, teased etc. Put your razor in a mid way to your desired length, and cut it delicately down along your hair. Don't cut your hair at once with a razor - they need to be layered - thick from the top and thinner at the ends. Repeat that with all top part of your hair.
- Now the fringe - part your hair in favourite way, and start layering with the razor. If you want your fringe to sit comfortably on the side of your face, create the length to your cheekbones. Layer it gradually with a razor.
- Fringe is very important in Scene Hair, it needs to be created from few layers, optionally with different shades and lengths - check the pictures of Audrey, Katie and other Scene Queens to know exactly what you're after.
No comments:
Post a Comment